
How to Scan Documents to Excel The Right Way
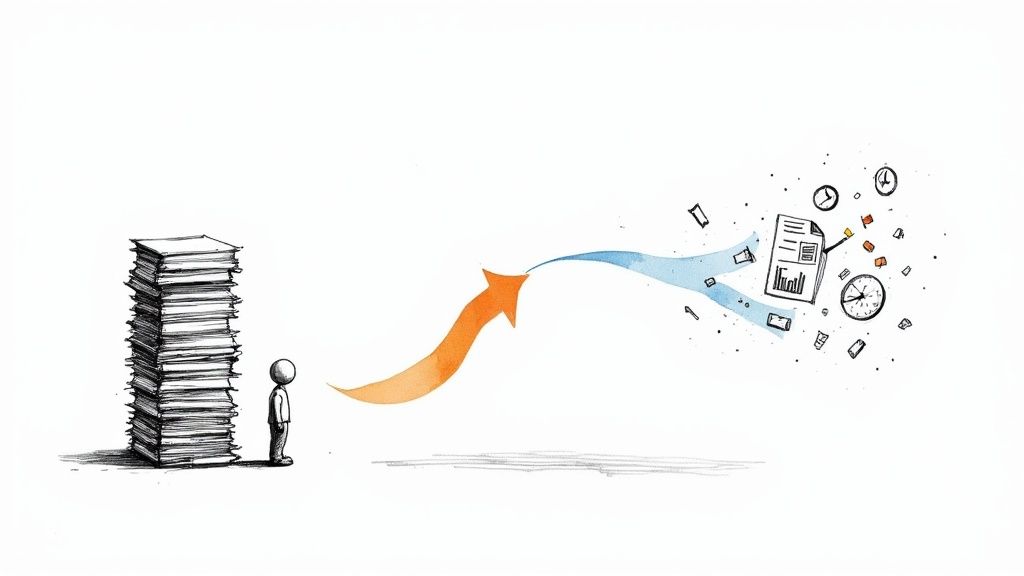
If you’ve ever stared at a mountain of invoices, receipts, or reports knowing they all need to end up in a spreadsheet, you know the feeling of dread. The best way to scan documents to Excel isn’t by brute force typing. It’s by using Optical Character Recognition (OCR) technology to do the heavy lifting for you, turning physical paper into structured, editable data.
This modern workflow, which pairs a simple scanner with smart software, automates the entire process and is more accessible than you might think.
Why Automating Data Entry Is No Longer Optional
Manually transcribing data from paper to screen is more than just tedious—it’s a massive time sink and a breeding ground for expensive mistakes. Every minute your team spends keying in numbers from a page is a minute they aren't spending on analysis, strategy, or growing the business. This guide is all about cutting through that inefficiency. I'll show you how to turn those stacks of paper into an organized spreadsheet that actually works for you.
Making this shift is a strategic move, not just a matter of convenience. The demand for tools that connect our physical and digital worlds is exploding. In fact, the global document scanner market is projected to grow by $4.77 billion between 2025 and 2029.
This growth is all about the massive productivity gains on the table. Businesses that start to scan documents to Excel instead of entering them by hand often report time savings of 50-70% on data processing. It’s a game-changer.
The Real Cost of Manual Data Entry
Beyond the hours it eats up, sticking with manual transcription carries a lot of hidden risks. Once you see the drawbacks, the value of an automated system becomes crystal clear.
- Human Error: Let's face it, even the most focused person makes mistakes. A single misplaced decimal or a couple of transposed numbers can throw off financial reports, inventory counts, or sales projections in a big way.
- Wasted Talent: Manual data entry is low-value work that ties up your skilled people. Freeing them from this task lets them focus on activities that actually require their expertise and critical thinking.
- Growth Bottlenecks: What happens when business suddenly picks up? A manual process will almost certainly break. It creates a bottleneck that can stall your entire operation right when you need to be moving fastest.
The core idea here is simple but incredibly powerful: turning physical documents into digital assets is the first step toward smarter data management. It’s about building a single source of truth that you can search, edit, and—most importantly—trust.
Our comprehensive guide on how to extract data from documents offers a deeper dive into the techniques behind this. Here, we'll build on those concepts with a practical roadmap to get this workflow running in your own business. We’ll focus on real-world applications so you can reclaim your time and be confident in your data.
Assembling Your Data Extraction Toolkit
Before you can turn a stack of paper into a neat Excel spreadsheet, you need to have the right tools in your corner. This isn’t about shelling out for the most expensive gear, but about picking the right combination of hardware and software that fits what you’re trying to accomplish. Think of it as building a two-part system: a solid scanner to get your documents digitized and smart software to make sense of it all.
Let's break down what you'll need.
First up is the scanner itself. This is your physical bridge from the paper world to the digital one. The demand for good scanners is growing because businesses are finally realizing how much time and money they can save by digitizing their records. In fact, the market for document and check scanners is projected to grow at a 7% CAGR from 2025 to 2033, ballooning to an estimated value of $2.5 billion in 2025.
Companies like Canon, Epson, and Fujitsu are leading the charge, with modern scanners boasting features like duplex (two-sided) scanning and incredible accuracy rates that often exceed 98% on clean, structured forms. If you're interested in the nuts and bolts, you can dig deeper into the document scanner market trends to see where the technology is headed.
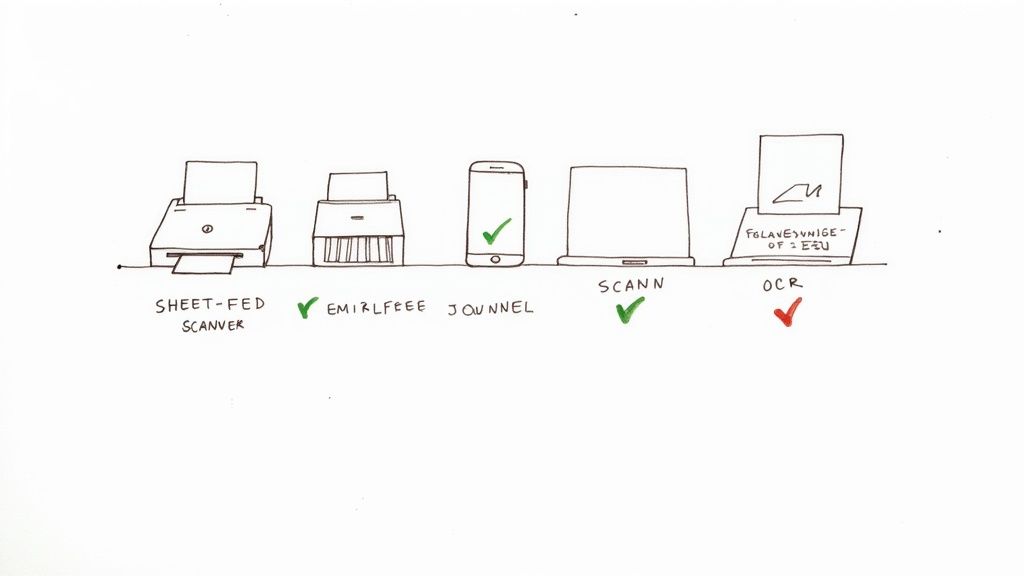
Choosing the Right Scanner for Your Needs
Not all scanners are built the same, and the best one for you comes down to what you’re scanning and how much of it you have. A small business owner processing a handful of invoices has very different needs than a mobile professional snapping pictures of receipts.
- Flatbed Scanners: These are perfect for delicate or awkwardly shaped items. Think old photos, fragile documents, or pages from a thick book. Their biggest downside is speed—you have to scan everything one page at a time.
- Sheet-Fed Scanners: If you're dealing with stacks of paper, this is your workhorse. These devices can automatically process dozens of pages at once, often scanning both sides simultaneously. They're the go-to choice for any office with a steady paper trail.
- Mobile Scanning Apps: Honestly, don't overlook the incredible power you already have in your pocket. Apps like Adobe Scan or Microsoft Lens have gotten so good they can replace a physical scanner for many tasks. They offer high-quality captures, automatic edge detection, and perspective correction, making them ideal for grabbing documents on the go.
I’ll admit, my own workflow has changed over the years. I used to be tethered to a big sheet-fed scanner on my desk, but now I find myself using a mobile app for about 90% of my day-to-day scanning. For single documents, the convenience is just unbeatable.
Selecting Your OCR Software
The scanner just creates a picture of your document. The real magic happens with the Optical Character Recognition (OCR) software—this is the brain of the operation. It’s what analyzes that image, recognizes the letters and numbers, and turns it all into editable data that Excel can actually work with. Making the right choice here is absolutely critical.
Choosing the right OCR software can feel overwhelming, but most options fall into one of three main buckets. Each has its pros and cons, especially when your goal is pulling clean data for Excel.
Comparing OCR Software for Excel Data Extraction
This table breaks down the popular OCR solutions to help you decide which tool best fits your needs for scanning documents to Excel based on features, best use case, and pricing models.
| Tool Type | Examples | Best For | Key Features | Pricing Model |
|---|---|---|---|---|
| Bundled Software | Scanner's own software | Quick, simple one-page conversions to PDF | Basic text recognition, PDF creation | Free (included with scanner) |
| Dedicated Programs | Adobe Acrobat Pro, ABBYY FineReader | High-accuracy text and table recognition from clean documents | Advanced table detection, export formatting, batch processing | One-time purchase or Subscription |
| Cloud-Based AI | DocParseMagic | Automated extraction of specific fields from varied layouts (invoices, forms) | Template-based data extraction, AI-powered field recognition, API integration | Subscription / Pay-per-use |
As you can see, what works best really depends on your specific project.
For quick, one-off jobs, the software that came with your scanner might be enough. But if you need to pull data from complex tables, you’ll want to step up to a dedicated program like Adobe Acrobat Pro. These tools are designed for precision and give you much more control over how tables are recognized and exported.
However, if you're regularly processing the same type of document—like invoices, purchase orders, or receipts—a cloud-based AI platform like DocParseMagic is in a league of its own. Instead of just grabbing all the text, these services let you train a model to understand the document's structure. You create a template and tell it exactly where to find the "Invoice Number," "Total Amount," and "Due Date." The AI then intelligently pulls only that specific data, which is a massive time-saver for anyone who needs to scan documents into Excel on a regular basis.
Getting From Paper to Pixels: The Scanning Process
Alright, you've got your tools ready. Now for the fun part: turning that stack of paper into a clean, organized spreadsheet. This is where the magic really happens, and believe me, a little care and attention upfront will save you hours of headaches later. I can't tell you how many times I've seen people try to rush this part, only to end up with a jumbled mess of data that's basically useless.
The quality of your final data is only as good as your initial scan. It’s that simple. Think of it like taking a photo—a blurry, crooked picture won't capture the details, and the same goes for your documents. Your OCR software is smart, but it's not a mind reader.
Before you even power on the scanner, take a minute to prep your documents. Smooth out those stubborn creases, get rid of every last staple and paper clip, and make sure the pages are lined up neatly. A crumpled invoice or a skewed receipt can throw off even the best software, leaving you with garbled text that you'll have to fix by hand.
Dialing in Your Scanner for a Perfect Scan
Your scanner settings are your first line of defense against inaccurate data. It's so tempting to just hit the big green "Scan" button and hope for the best, but tweaking a few options first makes a massive difference. The most critical setting by far is the resolution, measured in dots per inch (DPI).
For standard documents like invoices, purchase orders, and reports, 300 DPI is the industry standard. It's the goldilocks zone—high enough for the software to clearly read every character, but not so high that you end up with enormous file sizes. If you drop down to 150 or 200 DPI to save space, you're rolling the dice on accuracy. That's when your OCR tool starts confusing an "8" with a "B" or an "l" with a "1".
Here are a few other best practices I always follow:
- Color Mode: Unless you absolutely need color (like for a chart in a presentation), stick to grayscale or black and white. The files are smaller, process faster, and are often easier for the OCR to read.
- File Format: Always, always save your scans as a PDF or TIFF. These formats keep the image crisp and clear. JPEGs, on the other hand, use compression that can create little smudges and artifacts around the text, confusing the software.
- Duplex Scanning: Got double-sided documents and a sheet-fed scanner? Use the duplex (two-sided) setting. It scans both sides in one pass and is a massive time-saver.
A clean, 300 DPI scan is non-negotiable. It gives your OCR software the best possible shot at success, which means you spend less time cleaning up errors and more time using your data.
Turning Scanned Images into Usable Text
With a high-quality scan in hand, it's time for the conversion. You'll feed this digital file into your OCR software, which will work its magic to recognize the characters. The tech behind this has come a long way. If you're curious about the nuts and bolts, we've got a great guide that explains what OCR technology is and how it actually works.
Let's imagine you're using a program like Adobe Acrobat Pro. You'd start by opening your scanned PDF. The software is smart enough to see that it's just an image and will usually prompt you to run text recognition right away.
As you can see here, the interface gives you clear options to enhance the scan and kick off the text recognition process.
This process adds an invisible, selectable layer of text on top of the image. The document is now officially machine-readable. You can search for words, copy-paste text, and, most importantly, export the data.
This final step is where many people stumble. If you just save the recognized text as a plain .txt file, you'll lose all the formatting. Tables will collapse into a single, nonsensical column of words and numbers.
Instead, you need to find an export option built for spreadsheets. Good OCR tools will have a feature like "Export to..." or "Save as..." with an option for Microsoft Excel Workbook (.xlsx) or a Comma-Separated Values (.csv) file. This tells the software to analyze the document's layout, identify the rows and columns, and preserve that structure. The result? A clean spreadsheet that's ready to go with minimal cleanup.
How to Clean and Validate Your Data in Excel
https://www.youtube.com/embed/oT4emh72fuA
Getting your data from a stack of paper into a spreadsheet is a huge step forward, but the job isn't quite done. The last, and arguably most important, part of the process is making sure that data is clean and accurate. I’ve seen it happen too many times: someone trusts the raw output, and a tiny OCR error snowballs into a major problem.
This simple flow chart gives you a bird's-eye view of the entire journey, from a physical document to a ready-to-use digital spreadsheet.
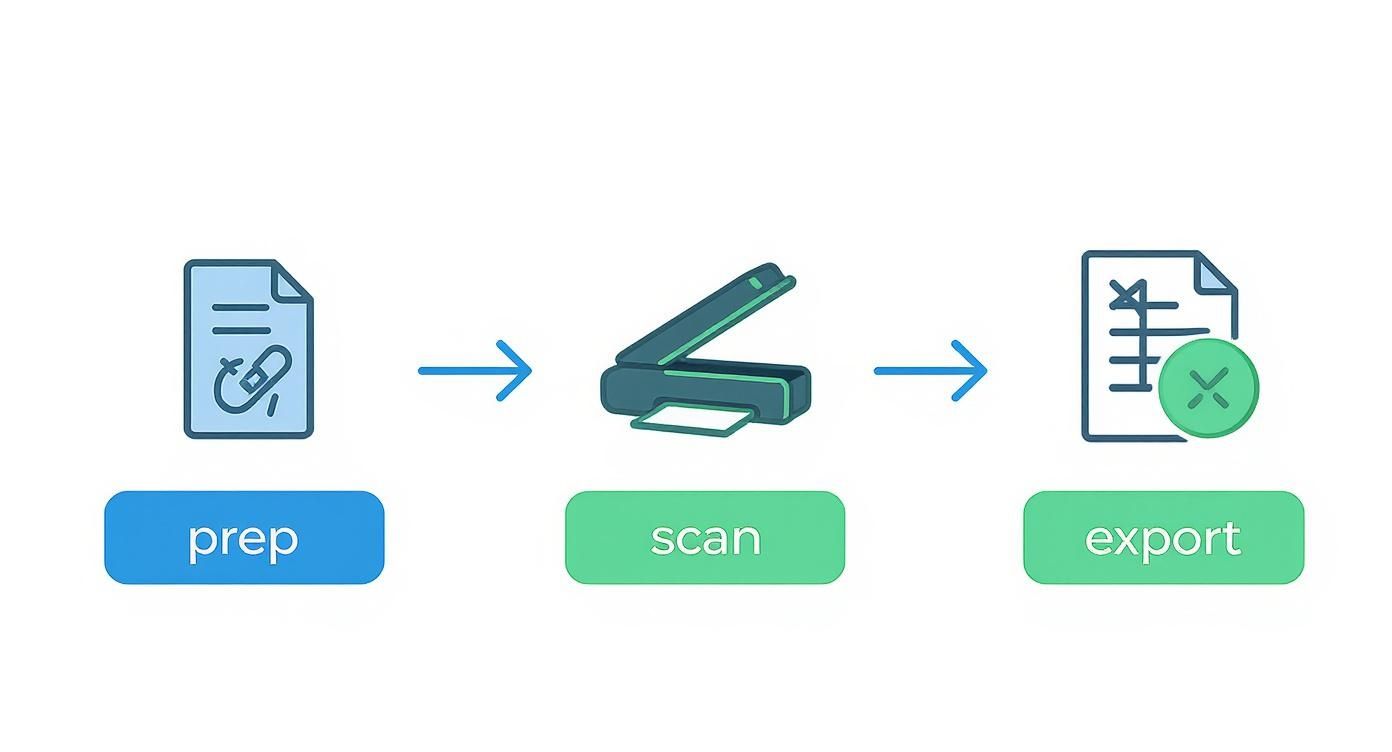
As you can see, each step is designed to get the cleanest possible export, but that final human check-in is what makes the data truly reliable.
The global market for document scanning services soared to $4.67 billion in 2024, a clear sign that everyone is trying to digitize their workflows. And while modern OCR software boasts over 99% accuracy on perfect, high-contrast documents, your real-world invoices, forms, and reports are rarely that pristine. That's why a final validation pass in Excel isn't just a good idea—it's essential. For a closer look at industry trends, the latest document scanning services market report offers some great insights.
Your Post-Export Data Cleaning Checklist
So, your data has landed in Excel. Before you do anything else, make a copy of that worksheet. Seriously. Just right-click the tab, select "Move or Copy," and check the "Create a copy" box. This gives you a safety net in case a find-and-replace action goes wrong.
Now, it's time to play detective and hunt for those common OCR hiccups. These are the little mistakes that give away that a machine did the reading.
- Character Confusion: Be on the lookout for numbers swapped with letters. The usual suspects are '5' for 'S', '0' for 'O', and '1' for a lowercase 'l' or an uppercase 'I'.
- Merged or Split Cells: Scan your columns to see if data has been jammed together (like "JohnSmith" instead of in separate first and last name columns) or improperly split across two cells.
- Phantom Punctuation: Random commas, periods, or other symbols often pop up where they shouldn't, usually caused by a stray mark or crease on the original paper.
Think of this as proofreading a document. You’re not just looking for simple typos; you’re checking the fundamental structure of your data. A few minutes spent here can save you hours of headaches and prevent bad analysis later.
Powerful Excel Tools for Rapid Cleanup
Manually fixing every single error would defeat the purpose of automating in the first place. This is where you let Excel's own features do the heavy lifting for you.
If you need a refresher on organizing messy data, our guide on the fundamentals of data parsing in Excel is a great place to start.
Use "Find and Replace" for Recurring Errors
Let's say you notice the OCR software consistently read the letter 'S' as a '5' in all your product IDs. Instead of fixing them one by one, just hit Ctrl+H to bring up the Find and Replace tool. Tell it to find all instances of '5' and replace them with 'S'. It's a massive time-saver for any repetitive character error.
Master "Text to Columns" for Jumbled Data
Did the OCR dump a full address into a single cell? The Text to Columns feature is your best friend here. Just highlight the column in question, head to the Data tab in the ribbon, and click Text to Columns. Choose the "Delimited" option, and then tell Excel what character to split the data by—like a comma or a space. It will instantly break the jumbled text into clean, separate columns.
By running through these quick validation and cleanup steps, you transform that raw, and sometimes messy, OCR data into a structured and reliable asset. This final touch ensures that the time you saved when you decided to scan documents to Excel results in data you can actually use to make informed decisions.
Automating Your Document Workflow
Alright, so you’ve nailed scanning a single document to Excel. That’s a great start, but the real magic happens when you stop doing things one by one and build a system that runs itself. This is how you move from a tedious manual task to a hands-off data pipeline that hums along in the background, saving you a massive amount of time.
Think about it: what if you could process a whole month's worth of invoices overnight without lifting a finger? That's not a far-fetched dream; it's what batch processing is all for. Instead of the slow, repetitive cycle of open, convert, save, repeat, you just point the software to a folder full of scans. It then churns through the entire stack on its own.
Getting Smarter Than Basic OCR With Templates
The next big leap is to teach your software exactly what data you care about. This is where you get into template-based extraction, often called zonal OCR. It's a game-changer. Instead of just dumping all the text from a page into a file, you get to be surgical about it.
Let's use a classic example: an invoice. On every single one, you probably only need a few key details:
- The unique invoice number
- The final total amount
- The customer's purchase order number
You can create a template just once, drawing little boxes around where those three pieces of information usually live. From then on, the software uses that map to intelligently pluck out only that specific data from any similar invoice you feed it. This is way faster and cleaner than grabbing everything and then having to delete the junk later.
This is the fundamental shift from just digitizing documents to truly automating data extraction. You're not just scanning documents to Excel anymore; you're building an intelligent system that understands what to look for.
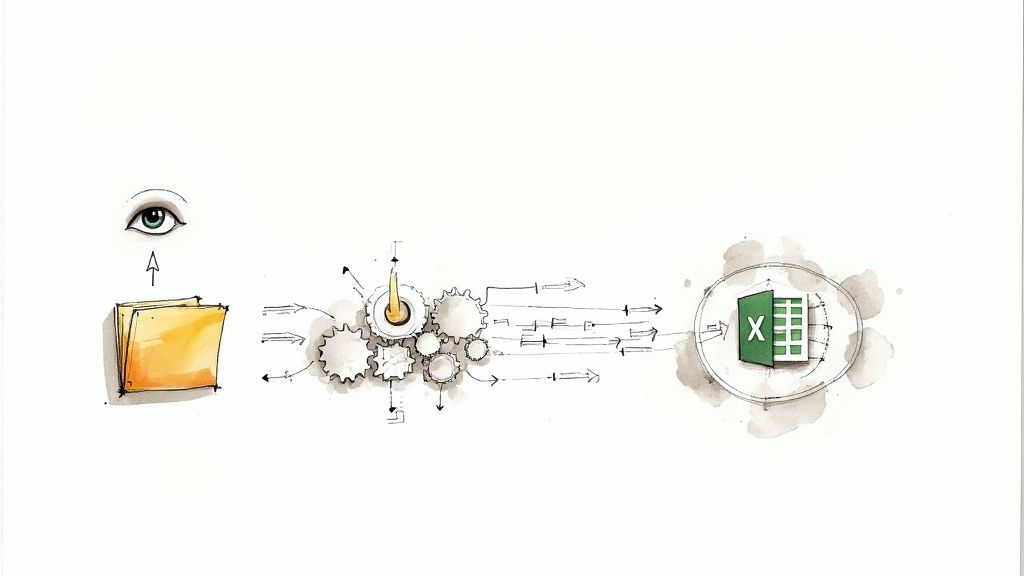
Building Your Hands-Off Data Pipeline
The ultimate setup? A workflow that requires virtually zero day-to-day effort from you. You can pull this off by using "watched folders"—a feature built into many document processing tools.
Here’s how it works in the real world. You designate a specific folder on your network drive that your OCR tool keeps an eye on. Anytime a new file lands in that folder—maybe from your network scanner or a colleague saving a PDF—the automation instantly springs into action.
The software grabs the new document, applies the right template you’ve already built, pulls out the data you need, and pipes it straight into your master Excel spreadsheet. No clicking, no dragging, no manual intervention.
This is how you create a seamless, end-to-end process. Documents come in, data flows out, and your spreadsheet stays updated in near real-time. You've officially built a robust system that smashes the manual data entry bottleneck for good.
Even with the best tools in your arsenal, you're bound to hit a few snags when you first start scanning documents directly into Excel. Trust me, I've been there. Getting ahead of these common sticking points can save you a ton of frustration and make sure your process is smooth from the get-go. Let's dig into some of the most frequent questions I hear.
Can I Actually Scan Handwritten Documents to Excel?
You absolutely can, but it’s crucial to go in with the right expectations. Modern OCR has made incredible progress with handwriting—a technology often called Intelligent Character Recognition (ICR). The catch? Accuracy lives and dies by how clear and consistent the handwriting is.
Neat, block-lettering will give you a much higher success rate than loopy, cursive script. If you’re planning to digitize a lot of handwritten forms, look for software that specifically highlights its ICR capabilities. Just be ready for a bit more manual cleanup compared to printed text. The tech is amazing, but it's not quite magic yet.
A Quick Tip from Experience: If you have any control over the forms being filled out, ask people to use all caps and leave clear spaces between words. This one simple instruction can make a world of difference in your ICR software's accuracy.
What’s the Best File Format for OCR Accuracy?
When accuracy is non-negotiable, the gold standard is a high-resolution PDF saved at 300 DPI. No question. This format locks in a perfect image of the original document while neatly tucking the recognized text into an invisible layer. You get the best of both worlds: a flawless visual copy and data your computer can actually read.
Another solid choice is the TIFF format. It’s a "lossless" format, which means it preserves every single pixel of image quality without any compression funny business. While JPEGs are everywhere and fine for a quick-and-dirty scan, their compression can create little blurs or artifacts around text that can sometimes confuse the OCR software and introduce small errors. For your most important jobs, stick with PDF or TIFF.
Ready to stop wrestling with messy exports and build a truly automated workflow? DocParseMagic uses AI-powered templates to pull the exact data you need from any document, delivering it in a clean, ready-to-use spreadsheet. Try it for free and see how much time you can reclaim. Learn more about DocParseMagic.