Pdf to Spreadsheet Conversion: A Practical Guide to Extracting Data
We've all been there: staring at a PDF, manually copying and pasting data into a spreadsheet, cell by tedious cell. It's more than just frustrating; it’s a massive resource drain that most businesses don't even realize they have. Moving this work from human hands to smart software—what we call automated pdf to spreadsheet conversion—can turn a slow, error-prone chore into a fast, reliable workflow.
The Hidden Costs of Manual Data Entry
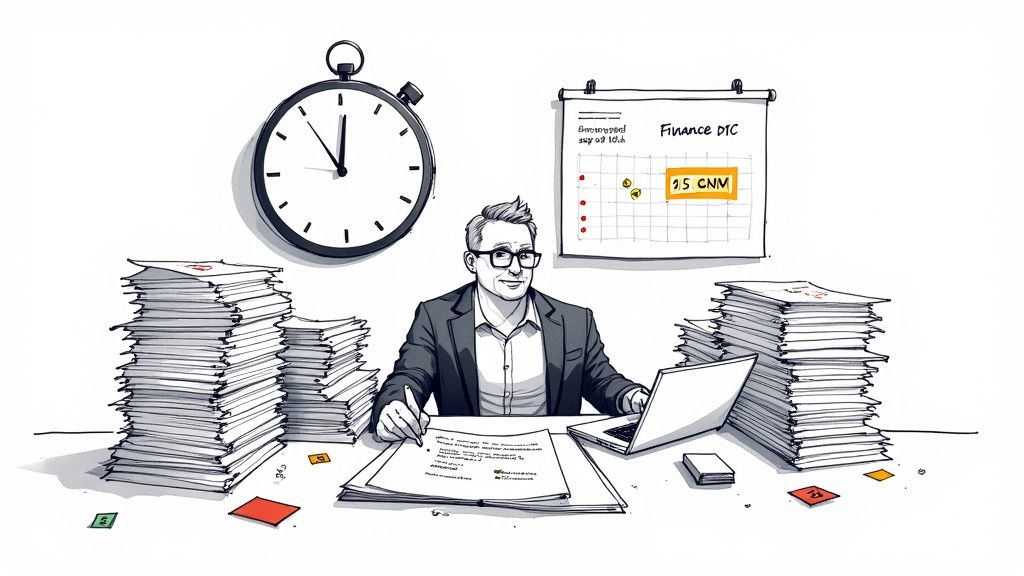
Let's put this into perspective. Think about a finance team that has to process 500 vendor invoices every single month. Each one is a PDF, and for every single one, they need to pull out the invoice number, date, line items, and total amount, then plug it all into an Excel sheet for bookkeeping.
Doing this by hand is agonizingly slow. An employee has to open each PDF, carefully highlight and copy the data, and then paste it into the right spreadsheet columns. It’s not just boring; it’s a minefield of potential mistakes.
The Financial Impact of Small Mistakes
A single typo can cause huge problems. Imagine a payment of $1,050.00 getting accidentally entered as $10,500.00. That one misplaced decimal can lead to a serious overpayment, damage a vendor relationship, and cause a major headache to fix.
Even small errors, like a wrong invoice number, can throw off your entire reconciliation process and make auditing a nightmare. These aren't just "what-if" scenarios; this is the daily reality for teams stuck with manual data entry.
Manual data entry is often treated as a low-skill task, but its impact is incredibly high-stakes. The real cost isn’t just the employee's salary—it's the financial damage from human error, the delayed decisions, and the valuable projects that get pushed aside.
The Opportunity Cost of Wasted Hours
Beyond the direct financial hits, the biggest hidden cost is time. When your skilled employees spend their days on mind-numbing copy-paste work, they can't focus on the high-value tasks you hired them for.
Let's go back to that finance team. All those hours spent on data entry could be put to much better use:
- Financial analysis: Spotting cost-saving opportunities or forecasting cash flow.
- Vendor negotiations: Getting better payment terms or bulk discounts.
- Strategic planning: Actually contributing to the company's long-term financial health.
This lost potential is a huge drag on any business. For context, manually pulling data from a complex 50-page financial report can take a person 8–12 hours. An automated tool can do the same job in just a few minutes. You can discover more about the time savings of automation and see how it makes processing thousands of pages an hour possible.
The Case for Automation
This is where automated pdf to spreadsheet conversion tools like DocParseMagic completely change the game. Data processing stops being a bottleneck and becomes a smooth, background operation. This guide will show you the practical steps to set up a system like this, freeing your team from the grind and unlocking their real potential. For any business that values efficiency and accuracy, this isn't a luxury—it's a necessity.
How to Prepare Your PDFs for Flawless Extraction
Here's a hard truth about data extraction: the secret to a perfect PDF to spreadsheet conversion isn't the tool, but the file you start with. We’ve all heard "garbage in, garbage out," and it’s especially true here. A skewed, blurry, or poorly scanned PDF is a one-way ticket to a jumbled spreadsheet and hours of mind-numbing manual cleanup.
Think of it like trying to read a crumpled, coffee-stained note. You might piece together the general idea, but you're bound to misread a few words. Data extraction software faces the same problem. Spending just a few minutes prepping your PDFs upfront is the single best thing you can do to get clean, accurate data on the other side.
First, You Need to Make Scanned Documents Readable
Many of the documents we deal with—like vendor receipts or old bank statements—started life on paper. They’re scans, which means the text is just part of an image. To an extraction tool, this is no different from a photograph. This is where Optical Character Recognition (OCR) comes in.
OCR technology is the magic that scans the image of a document and translates the shapes of letters and numbers into actual, machine-readable text. Without it, trying to pull data from a scanned PDF is a non-starter. It’s the essential bridge between a static picture and a dynamic dataset. If you want to dive deeper, this guide on what Optical Character Recognition is is a great place to start.
A common mistake I see is people assuming all PDFs are the same. A "native" PDF made from a Word doc already has text you can select and copy. A scanned PDF is just an image until OCR works its magic. Knowing this difference can save you a ton of headaches.
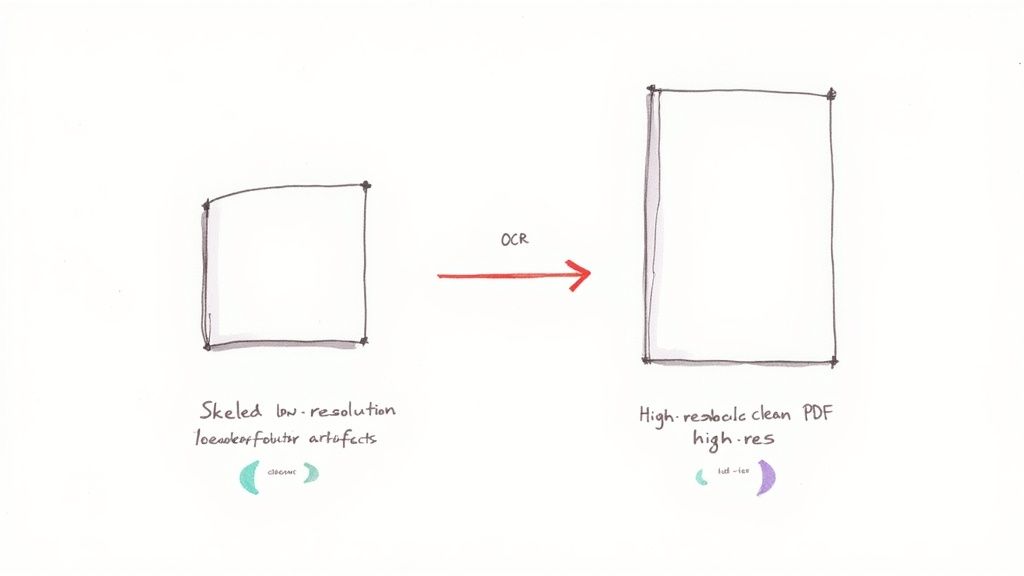
For OCR to work well, the quality of the scan is everything. A low-resolution or blurry image will cause all sorts of errors, like confusing 'O' with '0' or 'l' with '1'.
Tips for Better OCR Accuracy
Boosting your scan quality directly translates to better data. Before you run any document through a tool, give it a quick check.
- Go for High Resolution: Always scan your documents at 300 DPI (dots per inch) or higher. This gives the OCR engine enough detail to work with. It's tempting to use a lower resolution to keep file sizes down, but you’ll pay for it later with hours of corrections.
- Straighten Things Out: A tilted page can completely throw off an OCR algorithm. Use the de-skew feature in your scanner or let a tool like DocParseMagic automatically straighten the pages. This gets all the text lined up horizontally, making it much easier for the software to read.
- Cut Out the Noise: Dark spots, shadows, or even the background texture of the paper can interfere with character recognition. A quick adjustment of the brightness and contrast can make the text pop, giving the software a much cleaner file to analyze.
Cleaning Up the Digital Clutter
Even "perfect" native PDFs can have their own problems. Things like headers, footers, page numbers, and watermarks can trip up an extraction tool. They’re helpful for us humans, but they create a lot of noise for the software.
Imagine you're pulling data from a 50-page product catalog. If you don't tell the software to ignore the "Page X of 50" footer on every page, you'll end up with that text mixed into your product descriptions. Fortunately, most modern parsing tools, including DocParseMagic, let you define specific areas of the page to ignore, effectively cropping out the noise before extraction even starts. At its core, the goal is efficient PDF to text conversion, and these prep steps are what get you there without the frustration.
Using Intelligent Field Mapping to Extract Data
Alright, your PDFs are clean and ready to go. Now for the fun part—this is where the real power of automated pdf to spreadsheet conversion comes alive. We’re moving beyond just ripping out raw text. Instead, we're going to tell our software exactly what to grab and precisely where to put it in a spreadsheet.
This is what’s known as intelligent field mapping. It’s the secret sauce for building an efficient, repeatable system. Rather than manually copying and pasting an invoice number, you teach a tool like DocParseMagic to recognize it and drop it into the "Invoice_No" column every single time. A little setup work now saves you from a mountain of tedious work later.
Building Your First Extraction Template
Think of an extraction template as a treasure map for your data. You’re creating a set of rules that tells the software exactly where to find the gold in any similar PDF you upload. The whole point is to make future document processing a completely hands-off affair.
For documents that always have the same layout—like invoices from a key supplier—this is usually a simple point-and-click job. You just upload a sample and visually outline the data you want.
Here's how that usually plays out:
- List what you need: First, figure out the must-have data points. For a typical invoice, that means things like
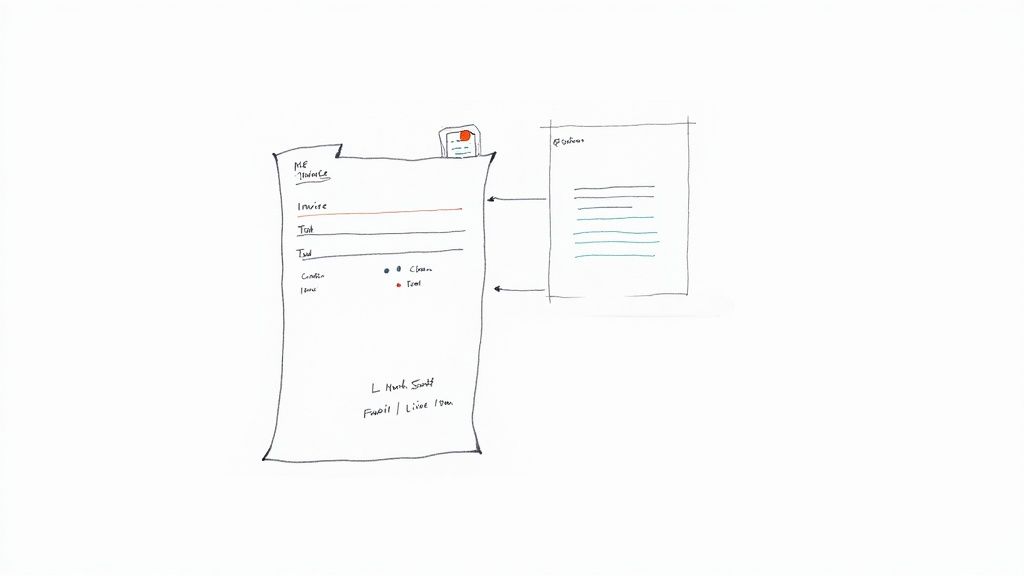
Invoice Number,Issue Date,Due Date,Vendor Name,Total Amount, and all the individualLine Items. - Select the data: In the software's interface, you’ll literally draw a box around the invoice number on your sample PDF and label it "Invoice Number."
- Rinse and repeat: You just keep doing this for every piece of information you want to pull out, mapping each one to a field name you've defined.
By drawing boxes around key info like the date or total amount, you create a reusable map that the software can follow for any future document that shares that layout.
Handling Tricky and Variable Layouts
Of course, the real world is messy. Not all documents are so uniform. Receipts from a dozen different stores, bank statements from multiple banks, or product catalogs with funky designs all pose a tougher challenge. This is where you have to get a little more creative with your mapping.
Instead of just telling the software to look for data at a specific spot on the page, you can use rules based on keywords or patterns.
For instance, to grab the total amount from any invoice, you could create a rule that says, "Look for a number that comes right after words like Total, Amount Due, or Balance." This makes your template much more flexible and able to work across different layouts, because most invoices use pretty similar language.
From my experience, the biggest time-saver is building templates for your top five most frequent document types first. Even automating just that small handful can clear up a significant portion of your manual data entry workload each month.
Mapping Data for Different Document Types
What you choose to extract is going to be different for every type of document you work with. A smart extraction strategy always starts with identifying the most crucial data points for your specific business needs.
To help you get started, here's a quick reference guide for some of the most common business documents and the key fields you'll likely want to capture.
Common Document Types and Key Data Fields to Extract
| Document Type | Essential Data Fields to Capture | Common Challenges |
|---|---|---|
| Invoices | Invoice Number, Vendor Name, Total Amount, Due Date, Line Items (Description, Quantity, Price) | Tables spanning multiple pages, varying date formats (MM/DD/YY vs DD-MM-YYYY). |
| Receipts | Store Name, Transaction Date, Total Amount, Tax, Individual Items Purchased | Faded or low-quality thermal paper scans, inconsistent layouts between retailers. |
| Bank Statements | Statement Period, Account Number, Transaction Date, Description, Deposits, Withdrawals, Ending Balance | Complex multi-column layouts, transaction descriptions that vary in length and detail. |
| Product Catalogs | Product SKU, Item Name, Description, Price, Dimensions, Weight | Data spread across multiple pages, inconsistent formatting for product specifications. |
Each template you create adds to your arsenal. By building a library of these intelligent maps, you create a powerful, scalable system for all your pdf to spreadsheet conversion needs. What used to be a mind-numbing manual task becomes a fast, accurate, and completely automated process.
How to Validate and Refine Your Spreadsheet Data
Pulling data out of a PDF is a huge win, but it's not the finish line. Frankly, no automated pdf to spreadsheet conversion is perfect, and a quick quality check is what separates a decent dataset from a reliable one. Think of it as proofreading your data—an absolutely essential step to ensure the information you're about to use is trustworthy.
This is where you catch the small but significant errors that inevitably sneak through. It’s all about turning that raw, extracted data into clean, structured information that’s ready for real work. If you skip this, you risk basing important decisions on flawed numbers.
Correcting Common OCR and Extraction Errors
Even with the best OCR technology, you're going to see some weird character mix-ups, especially if you're working with lower-quality scans. These tiny mistakes are the usual suspects.
Keep an eye out for these common offenders:
- Character Mix-Ups: The classic error is confusing a '0' with an 'O' or a '1' with an 'l'. A quick find-and-replace can often fix these across your entire sheet in seconds.
- Stray Symbols: Currency symbols like
$or€are great for context on the page, but they’ll throw errors in your calculations. You need to strip these out to convert those text fields into usable numbers. - Extra Spaces: I see this all the time—extra spaces get inserted before or after a value, which messes up sorting and lookups. The TRIM function in Excel or Google Sheets is a lifesaver here.
For example, an invoice total extracted as "$ 1,500.0O" won't work in a SUM formula. You'd have to remove the dollar sign, the space, the comma, and correct the 'O' to a '0' just to get the clean value: 1500.00.
Standardizing Formats for Consistency
Inconsistent formatting is another major headache. One invoice might list a date as "10/25/2023," while the next one uses "Oct 25, 2023." To analyze this data properly, everything needs to be in one uniform format.
I always recommend setting a standard format for dates (
YYYY-MM-DDis my personal favorite because it sorts perfectly) and numbers right from the start. Taking a few minutes to do this as a batch process saves you from fixing the same issues over and over again.
This isn’t just about dates, either. It applies to addresses, product codes, or any other field where consistency is key. Getting everything in a standard format makes your final spreadsheet so much more powerful. If you want to go deeper, our guide on data parsing in Excel has some more advanced techniques for cleaning up your data.
Setting Up Validation Rules and Formulas
The final layer of quality control is using the spreadsheet itself to check the data's integrity. You can build simple rules and formulas that automatically flag potential problems for you.
Here are a few practical checks I use for invoice datasets:
- Cross-Check Totals: A simple formula can verify if the sum of the line items plus tax actually equals the extracted total. Something like
=(SUM(F2:F10) + G2) = H2will returnTRUEif the math works orFALSEif something is off. - Verify Number Patterns: Data validation rules are great for this. You can make sure an invoice number follows a specific pattern, like it must be 8 digits long or start with "INV-". This helps catch incorrectly scanned or partial numbers immediately.
- Flag Missing Information: Use conditional formatting to highlight any rows where essential info, like a due date or vendor name, is missing. It gives you an instant visual checklist of what needs to be fixed.
Once your data is clean and in the spreadsheet, you can really start leveraging it. Techniques like mastering VLOOKUP for efficient data management become invaluable for cross-referencing information against master lists of vendors or products, which is the ultimate step toward ensuring complete accuracy.
Automating Your Conversion and Integration Workflows
We've covered how to nail the conversion for a single document. But now it’s time to scale up. Let's shift our focus from one-off extractions to building a completely automated pipeline that can chew through hundreds, or even thousands, of files without you lifting a finger. This is where you’ll see the most significant payoff from PDF to spreadsheet conversion.
Think about it. You could have a dedicated email address where all your vendor invoices land. Or maybe a shared Google Drive folder where the sales team drops their expense receipts. With a proper automation setup, these locations become the trigger for a powerful workflow. No more manually downloading files; an intelligent tool can monitor these sources 24/7.
Building a Hands-Off Data Pipeline
The aim here is a smooth, continuous flow: a document arrives, and the structured data appears where you need it, moments later. Tools like DocParseMagic are built to be the engine for exactly this kind of process. You can point it at a specific cloud folder or email inbox and tell it to get to work.
Once a new PDF shows up, the system springs into action:
- It immediately detects the new file.
- It figures out the document’s layout and grabs the right extraction template you've already saved.
- The tool pulls out all the fields you care about—invoice numbers, totals, line items, you name it.
- Finally, it sends that clean, structured data straight to its destination. This could be a new row in a Google Sheet, a fresh entry in your accounting software, or a record in your ERP system.
This isn't just about moving faster; it's about building a system that can handle growth. A task that used to eat up hours of someone's day now happens in the background, freeing up your team for more valuable work. And the need for this is only growing. PDF usage is massive, with some platforms reporting they handle over 100 million PDFs weekly. Conversion tools make up about 28% of that activity, which shows just how many people are trying to solve this data extraction puzzle. You can see these PDF usage trends for yourself to get a sense of the scale.
Setting up an automated workflow is like getting a digital team member who works around the clock, never gets tired, and doesn't make typos. It completely changes how you approach document-heavy tasks.
Integrating With Your Existing Tools
True automation doesn't end with a populated spreadsheet. The real magic happens when you connect that extracted data directly into the business tools you rely on every day. This closes the loop, getting rid of that last manual step of uploading a CSV or copy-pasting from one system to another.
For example, you can create a workflow where invoice data pulled by DocParseMagic is sent directly to your QuickBooks or Xero account, instantly creating a draft bill ready for your approval. This kind of direct connection keeps data flowing seamlessly across your software, which means better accuracy and a real-time view of your finances. For more ideas on these connections, check out our guide on how to automate data entry.
The diagram below shows the simple, yet crucial, validation steps that make these automated workflows reliable.
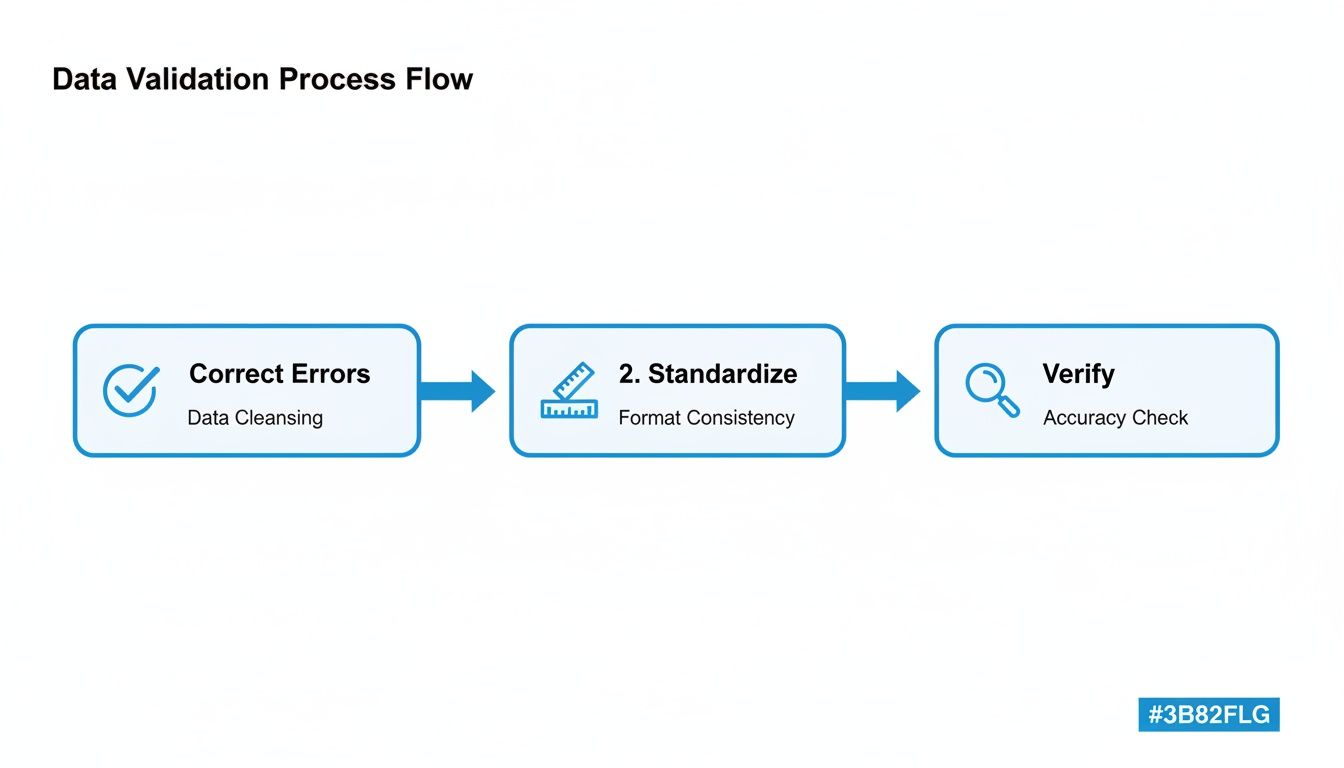
This process—correcting errors, standardizing formats, and verifying the data—acts as a quality control checkpoint. By baking these checks into your workflow, you can trust that only clean, accurate information makes it into your core business systems. This level of automation isn't some far-off dream; it's a practical strategy you can implement today to finally leave manual data entry in the past.
Troubleshooting Common PDF Conversion Problems
Even with the best tools, you're bound to run into a tricky pdf to spreadsheet conversion now and then. A funky document structure or a grainy scan can definitely throw a wrench in the works, but don't worry—these issues are almost always fixable. With a bit of know-how, you can tackle the most common conversion headaches and get the clean data you're after.
One of the classic problems I see all the time is a single table that spills across multiple pages. An extraction tool might mistake this for two separate tables, leaving you with a messy spreadsheet full of jumbled data and missing rows. This happens a lot with long bank statements or those hefty multi-page product catalogs.
The fix is usually pretty simple. Look for a "merge" or "combine" function in your software. In DocParseMagic, for instance, you can process all the pages at once and just define one single table structure that covers the whole document. The tool is smart enough to see the repeating headers and will neatly stitch all that data together into one continuous table for your final export.
Handling Low-Quality Scans
Another frustrating one is trying to pull data from blurry or low-quality scans. If the OCR engine can't clearly read the text, your spreadsheet will be a mess of typos and nonsensical characters. This is a common pain point with older, archived documents or receipts you've scanned in a hurry on your phone.
While no software can magically fix a totally unreadable document, you can often clean up the PDF before you even start the extraction.
- Pump up the contrast: Use a basic PDF editor to make the text darker and the background lighter. This small tweak can make a huge difference.
- Straighten it out: If a page was scanned crooked, use a de-skew tool to get it level.
- Just re-scan it: Honestly, if you still have the original document, the best solution is to scan it again at a higher resolution. Aim for at least 300 DPI.
A great tip I've learned is to process a single difficult page as a test. If you can get clean data from that one page after adjusting it, you can apply the same settings to the rest of the batch, saving you from a massive cleanup job later.
Managing Inconsistent Layouts
So, what do you do when you're working with documents from a bunch of different sources, like invoices from ten different vendors? Each one has its own layout, so a single template just won't cut it.
You've got a couple of solid options here. The first is to create a unique extraction template for each vendor. This works perfectly if you consistently get documents from the same handful of sources.
The second, more powerful approach involves using intelligent parsing rules. Instead of telling the tool to look for data in a fixed spot on the page, you create rules based on keywords. For example, a rule could be "find the number immediately following the words 'Invoice Total'." This flexible, keyword-based method lets you build one master template that can handle tons of different layouts, making your entire pdf to spreadsheet conversion workflow much more scalable and robust.
A Few Common Questions
We’ve walked through the entire process, from a messy PDF to a perfectly organized spreadsheet. As you get started, a few questions tend to come up. Let's tackle them head-on to clear up any final uncertainties.
Just How Accurate Is the OCR Anyway?
Modern OCR is remarkably good, often hitting 99% accuracy on clean, machine-printed documents. Think of a standard invoice or a crisp bank statement—the technology will nail it almost every time.
Where you'll see that number dip is with low-quality scans, blurry images, or documents with handwritten notes scrawled in the margins. This is precisely why the cleanup and validation steps we covered earlier are so important. Spending a few moments preparing your document saves you a ton of time fixing errors on the back end.
I always tell people to think of OCR as an incredibly fast and diligent assistant. It does the heavy lifting, but it’s always wise to give its work a final once-over, especially before you use that data for critical business decisions.
Are My Documents Safe With Online Converters?
This is a big one, and the answer is: it depends entirely on the tool you choose.
Established platforms like DocParseMagic take security seriously. They use encrypted connections (look for the little padlock and SSL in your browser) and have clear privacy policies explaining that your files aren't kept indefinitely. When you're dealing with sensitive financial or personal data, sticking with a trusted provider is non-negotiable.
As a rule of thumb, I'd steer clear of those free, ad-heavy websites for anything confidential. You often don't know who is handling your data or how secure their process really is.
What’s the Best Format for My Exported Data?
For 99% of business uses, you'll be choosing between CSV and XLSX.
- CSV (Comma-Separated Values): This is the universal workhorse. It's a simple, lightweight text file that plays nicely with just about any spreadsheet or database program on the planet.
- XLSX (Excel): This is your go-to if you plan to work within the Microsoft Excel environment. It's perfect for preserving specific formatting, creating charts, or using advanced formulas.
- Google Sheets: If your goal is to share the data and collaborate with your team in real-time, exporting directly to Google Sheets is the obvious choice.
Ready to finally ditch manual data entry? Let DocParseMagic transform your piles of documents into clean, usable spreadsheets in minutes. Sign up for free and start automating your workflow today!