
Convert Image to Excel A Practical How-To Guide
For straightforward tables, the quickest route is often Excel's built-in "Data from Picture" feature. But when you're dealing with complex documents or need to process them regularly, dedicated Optical Character Recognition (OCR) software is the way to go for better accuracy and automation.
Why Bother Converting an Image to Excel?
Let's be honest: nobody enjoys manual data entry. It's tedious, slow, and a surefire way to introduce errors into your work. Picture a stack of invoices on your desk, a photo of a price list you snapped at a trade show, or a scanned product catalog. The thought of keying in every single line item, date, and price is enough to make anyone's eyes glaze over.
This is exactly why learning to convert images into Excel is such a valuable skill. It’s not just about saving a few minutes; it’s about transforming your entire workflow and ensuring your data is clean from the start.

Where This Really Makes a Difference
Instead of dedicating hours to mind-numbing transcription, you can digitize crucial information in a snap. Think about these real-world situations:
- Accounting and Finance: That photo of a supplier invoice can become a sortable Excel table in seconds, making it far easier to track spending and manage payments.
- Sales and Networking: A quick picture of a conference attendee list or a pile of business cards can be turned into a clean contact database for your CRM.
- Inventory Management: A snapshot of a new product catalog from a vendor can be converted into a spreadsheet for easy price comparisons and stock level updates.
In every one of these cases, you're sidestepping the inevitable typos and mistakes that happen during manual entry.
The real win here is turning static, locked-in data from a picture into a dynamic, usable dataset. Once it's in Excel, you can sort it, filter it, run calculations, and integrate it into your other business systems.
A Quick Comparison of Your Options
Deciding which method to use depends on your specific needs—from a one-off task to a high-volume, automated workflow. This table breaks down the main approaches.
Conversion Methods At a Glance
| Method | Best For | Key Advantage | Potential Drawback |
|---|---|---|---|
| Excel's "Data from Picture" | Simple, well-defined tables and quick one-off tasks. | It's built right into Excel, so there's no extra software to install. | Struggles with complex layouts, handwritten text, or low-quality images. |
| Dedicated OCR Software | High-volume, recurring tasks like invoice or receipt processing. | High accuracy, automation features, and advanced data extraction. | Often requires a subscription and a bit of setup time. |
| Free Online Tools | Occasional conversions of non-sensitive documents. | Quick, easy, and no cost for basic use. | Can have privacy concerns and may lack accuracy for complex tables. |
| Manual Entry | Very short lists or documents where OCR fails completely. | 100% accuracy if done carefully. | Extremely time-consuming and prone to human error. |
Ultimately, the best tool is the one that fits the job. For a quick data grab, Excel’s feature is great. For anything more serious, a dedicated OCR tool is a much better investment.
The "Magic" Behind It All
This whole process relies on Optical Character Recognition (OCR), a technology that has become incredibly powerful and accessible. Modern image-to-Excel tools are a direct result of advancements in OCR and table-extraction AI. Microsoft even baked its own "Data from Picture" feature directly into Excel, a clear sign that this is now a mainstream business need. These tools are designed to slash the time spent on manual data entry. If you want to dig deeper, you can learn more about Excel's built-in data extraction features on their official support page.
How to Prepare Your Image for a Flawless Conversion
The old saying "garbage in, garbage out" couldn't be more accurate when you're turning an image into an Excel sheet. The final quality of your data is a direct reflection of your starting image. Taking just a few moments to prep your picture can genuinely save you hours of cleanup work down the line.
Think of the conversion software like a very literal assistant. Give it crisp, clear text, and it'll work wonders. But feed it a blurry, dark, or skewed image, and it's forced to guess. That's where mistakes creep in. Your best bet is always a simple, well-lit photo taken straight on.
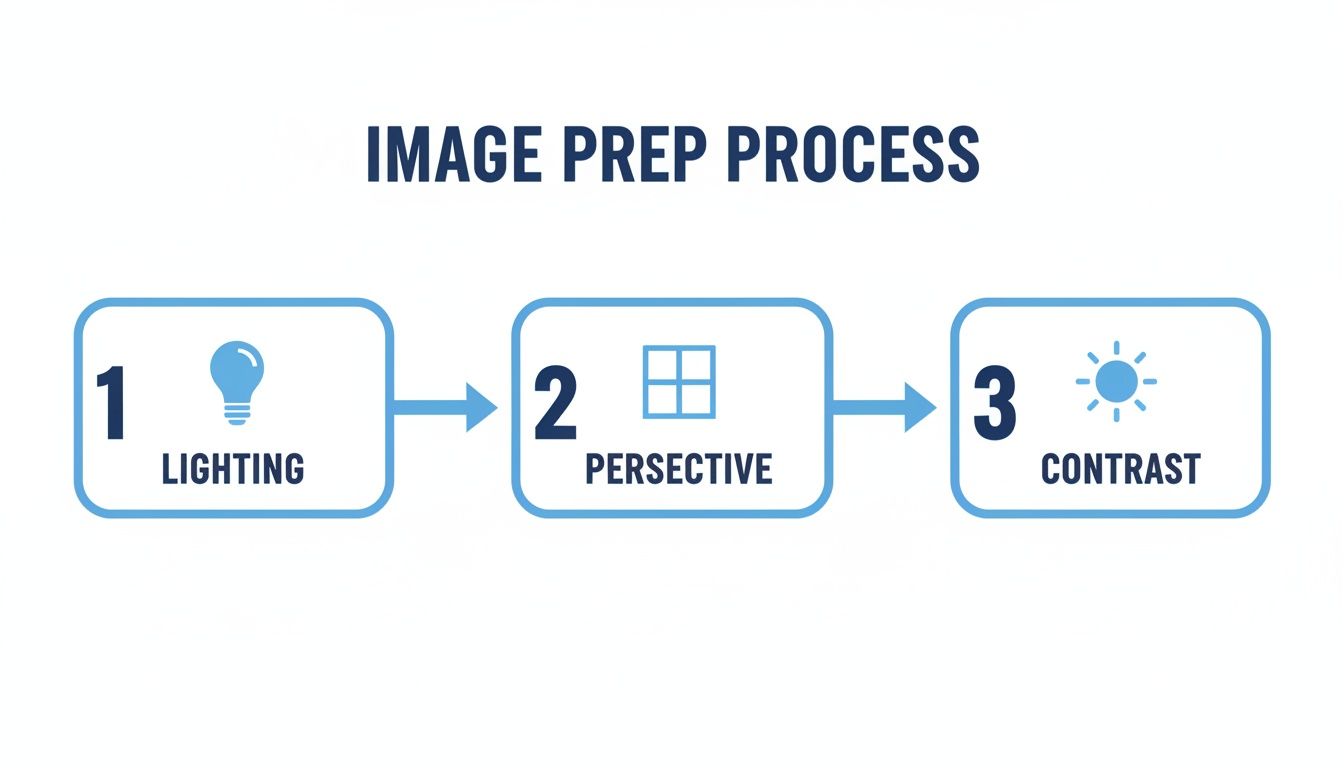
Master the Lighting and Angle
Poor lighting is the number one enemy of accurate data extraction. It’s that simple. Shadows can hide characters, warp numbers, or trick the software into seeing things that aren't there. Your goal is bright, even lighting across the entire document.
Also, avoid taking photos at an angle. This creates what's called perspective distortion, making your rectangular document look like a trapezoid. That kind of skew makes it nearly impossible for the software to figure out the table's grid structure.
- Go for Natural Light: If you can, lay your document near a window, but try to avoid harsh, direct sunlight.
- Skip the Flash: Your phone's flash usually creates a nasty glare right in the middle of the page, which can completely wash out the text.
- Get Directly Above It: Position your camera so it’s parallel to the document. This helps keep all four corners perfectly squared up.
Don't forget that most phones and basic photo editors have built-in tools to fix perspective and tweak the brightness. Use them! A little adjustment here makes a massive difference.
Focus on Clarity and Resolution
Blurry, low-resolution images are a recipe for a messy conversion. The text has to be sharp for the Optical Character Recognition (OCR) engine to do its job properly. If you're curious about the tech behind this, our guide explains in detail what Optical Character Recognition is and how it all works.
For example, here's the kind of clean, machine-printed text that OCR software has no trouble reading.
The letters in this image are distinct and high-contrast, leaving no room for the software to get confused between characters. It's the perfect input.
The accuracy of your conversion heavily depends on the quality of the input image; learning about generating high-resolution screenshots can be a crucial step in preparing your data, especially if you're working from digital sources. A higher resolution gives the software more data points to analyze, drastically reducing errors. Make sure your final image is sharp, clear, and ready for a flawless conversion.
Using an Automated Tool Like DocParseMagic
While getting your images clean is a great start, the real magic happens when you bring in a smart tool to do the heavy lifting. This is where you graduate from one-off conversions to building a truly efficient, automated system.
Let's walk through a real-world scenario using a platform like DocParseMagic. Imagine you get dozens of invoices from the same vendor every single month. Instead of squinting at a screen and typing everything out, you can teach the software what to look for once, and it'll handle the rest automatically from then on.
Setting Up a Custom Parsing Template
The first step is showing the tool what matters. With DocParseMagic, you upload a sample invoice and literally draw boxes around the data you need to pull. It’s a one-time setup that saves you countless hours down the line.
Think of it like creating a digital stencil for your documents. You just map out the key fields you care about.
- Invoice Number: Draw a box around the invoice ID.
- Due Date: Highlight the field where the payment due date is shown.
- Total Amount: Select the final, all-important total.
- Line Items: This is the big one. You can define the entire table of products or services, telling the tool to grab the description, quantity, and price for each row.
Once you save this template, the system knows exactly where to find the "Total Amount" on every future invoice from that supplier, even if it’s a few pixels off from last time.
Power Features for High-Volume Workflows
This is what separates a basic converter from a serious workflow tool. It’s not just about pulling text; it's about understanding the document's structure and turning chaos into order. For anyone interested in the tech behind turning messy images into clean, usable data, this guide on document processing automation is a great deep dive.
My Two Cents: The goal isn't just to scrape data from an image. The goal is to get structured, reliable, and analysis-ready data into your spreadsheet with as little manual fuss as possible. That’s the true difference between simple OCR and intelligent document parsing.
And remember, the quality of your image is the foundation for everything else. Making sure the lighting, perspective, and contrast are right is the first step to getting accurate results from any tool.
This simple prep work gives the software the clearest possible text to read, which makes a huge difference in accuracy.
Businesses are catching on to the power of this approach. The global digital image processing market was already valued at $3.17 billion back in 2021 and is growing fast. This tells you that companies everywhere are turning to tools that convert images to Excel to make their operations run smoother.
From Batch Processing to Clean Exports
With a template in place, you can really start moving. This is where the time savings pile up.
First, there's batch processing. Forget uploading files one by one. You can drop a whole folder of scanned invoices or photos into the system, and it will automatically apply the right template to each one. It can churn through a hundred documents in the time it would take you to do two by hand.
Next up is data enrichment. A good tool does more than just extract text. It can standardize date formats (turning "Jan 1, 2024" and "01/01/24" into a consistent "2024-01-01"), check that numbers look right, and even flag documents where information seems to be missing.
Finally, you get a seamless export. Once everything is processed, all that clean data is neatly organized. You can export it as a perfect CSV or XLSX file, with all the columns exactly as you defined them. It's ready to be dropped straight into your accounting software or financial models.
By using an intelligent platform like DocParseMagic, you're not just converting a file; you're building a repeatable, scalable system that can genuinely save you hours every single week.
Choosing the Right Conversion Tool for Your Needs
When you need to get data from an image into Excel, grabbing the first tool you find online is rarely the best move. The "right" choice really depends on what you're trying to accomplish. Are you digitizing a single, clear-cut table, or are you trying to process a mountain of invoices every week?
Matching the tool to the job is key. It's the difference between a quick win and a day lost to frustrating manual corrections. Let's break down the options so you can pick the most efficient path every time.
When Excel’s Built-In Feature Is Enough
Sometimes, the simplest solution is already right in front of you. For quick, one-off jobs, Excel’s own "Data from Picture" feature can be a real lifesaver.
Think about a time you snapped a photo of a price list at a conference or took a screenshot of a simple data table from a website. This is exactly what Excel’s tool was made for. It’s built directly into the software, so there's nothing to install. Just import the picture, let Excel analyze it, and drop the data right into your worksheet. For well-structured tables with clean, printed text, it's often all you need.
The Role of Free Online Converters
A quick Google search will turn up dozens of free online converters. These can be genuinely useful for occasional, non-sensitive documents where you just need a fast conversion without much fuss. If you have a PDF of a restaurant menu or a public report you need to pull data from, these web-based tools can get the job done.
But a word of caution is in order.
Be extremely careful about data privacy with free online services. Uploading sensitive financial documents like invoices, bank statements, or receipts could expose confidential information. Always check a tool's privacy policy before uploading anything you wouldn't want out in the open.
For anything containing personal or financial data, you’re much better off using a secure desktop tool or a professional service with transparent security standards.
Stepping Up to a Dedicated Platform
So, when do the simple options fall short? It's time to look at a dedicated platform like DocParseMagic when you're dealing with anything high-volume, repetitive, or just plain messy.
This is where you move from one-off tasks to building an actual workflow. Ask yourself if your situation looks like this:
- High Volume: Are you processing hundreds of vendor invoices or expense receipts every month? Manually, that's a nightmare.
- Repetitive Structure: Do you get the same type of report from different departments or clients and need to pull the same data points from each one?
- Complex Layouts: Are your documents a mix of tables, paragraphs, and scattered data points? Think purchase orders or detailed statements that aren't simple grids.
In these scenarios, the ability to create reusable templates, process files in batches, and automatically clean up the data is a game-changer. You stop being a data entry clerk and start managing an automated system.
Feature Comparison: Excel vs. Online Tools vs. DocParseMagic
To make the choice even clearer, let's look at a side-by-side comparison. This table breaks down what you can realistically expect from each category of tool.
| Feature | Excel 'Data from Picture' | Free Online Converters | DocParseMagic |
|---|---|---|---|
| Ideal Use Case | Quick, one-off import of a single, simple table. | Occasional conversion of non-sensitive documents. | High-volume, recurring, or complex data extraction. |
| Setup Time | None. It's built-in. | None. Web-based. | Initial template setup required per document type. |
| Batch Processing | No. One image at a time. | Usually limited or none. | Yes. Designed for processing hundreds/thousands of files. |
| Template Reusability | No. | No. | Yes. Define extraction rules once, reuse forever. |
| Handles Complex Layouts | No. Best for simple grids. | Very limited. Often fails with mixed content. | Yes. Can extract data from specific locations, not just tables. |
| Data Privacy | High. Data stays on your local machine. | Low to moderate. Data is uploaded to a third-party server. | High. Enterprise-grade security and data handling policies. |
| Cost | Free (with Microsoft 365 subscription). | Free (often with ads or limitations). | Paid subscription, based on volume. |
Seeing the features laid out like this really highlights the trade-offs. For a simple task, Excel is perfect. For a serious business process, you need a tool built for the job.
Don't Skip the Final Polish: How to Clean Up Your Excel Data
Getting your data out of an image and into Excel is a great first step, but the real work starts now. No OCR tool is flawless, and spending a few minutes cleaning up the extracted information is probably the most critical part of the whole process. This is how you go from a messy data dump to a reliable, trustworthy spreadsheet.
Modern tools have gotten incredibly fast and accurate. Simple conversions can be done in under 10 seconds, and you'll often see accuracy rates hitting 85% or more on clean images. But even the companies that make the software will tell you that a final human review is what closes that gap to 100% reliability. If you want to see this in action, this video shows how interactive correction works and gives a good sense of typical accuracy.
That final check is where you catch the subtle little errors that OCR software is known for.
Your Post-Conversion Cleanup Checklist
Think of this as your quality control sweep. The goal here is to quickly find and fix the most common mistakes before they mess up your reports or calculations.
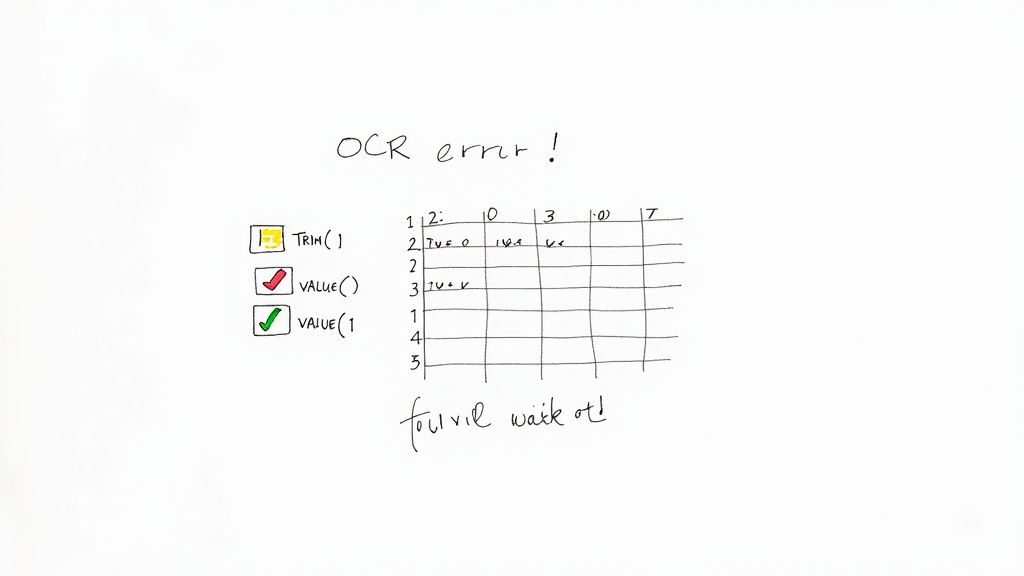
- Spot the Classic OCR Blunders: This is the easy stuff. Scan your columns for the usual character mix-ups. The letter 'O' showing up as a '0' is a classic, as is a lowercase 'l' getting mistaken for a '1'. You'll also see 'S' pop up as '5' pretty frequently.
- Trim Those Hidden Spaces: Sometimes, the software sneaks in extra spaces before or after text and numbers. You can't see them, but they'll throw off your formulas and sorting. The
=TRIM()function in Excel is a lifesaver—it instantly strips out all those pesky leading and trailing spaces. - Turn Text Back into Numbers: It’s really common for numbers, especially amounts with currency symbols, to land in Excel as text. A dead giveaway is when a number is aligned to the left side of the cell. The
=VALUE()function will quickly convert those back into real numbers you can actually use for math.
My go-to trick: Use Excel's "Find and Replace" (Ctrl+H) to fix common character mistakes all at once. If you have a column of product codes where 'O' was misread as '0', you can fix the entire column in two seconds. It's way faster than doing it by hand.
Making Sure the Numbers Actually Add Up
Once the obvious formatting mistakes are gone, it's time to check if the data itself is correct. This is all about verifying the integrity of your numbers and the overall structure.
For example, if you just pulled line items from an invoice, use the =SUM() function on the individual item totals. Does your result match the "Total Amount" that was also extracted from the document? If they don't line up, that's a red flag telling you a number was misread somewhere.
Another thing I see all the time is merged data. Two separate columns from the original image get smushed into a single column in Excel, like "First Name" and "Last Name" ending up in the same cell. Excel’s built-in "Text to Columns" tool is perfect for splitting this data back out. If you want to get better at these kinds of fixes, we have a whole guide on advanced data parsing in Excel.
Running through these quick cleanup and validation steps transforms your data from a rough draft into something you can truly rely on. It's a small time investment that prevents huge headaches down the road.
Still Have Questions? Let's Clear Things Up
Even with a great tool, jumping into image-to-Excel conversions can feel a bit tricky at first. Understanding what the technology does well—and where it stumbles—is the secret to getting great results without the headache. Let's tackle some of the most common questions I hear.
A big one is always about handwriting. Can you convert a handwritten table into a spreadsheet? The short answer is, usually not. Most OCR software is trained on clean, machine-printed text. It gets completely thrown off by the wild variations in human handwriting, especially cursive. While some fancy AI is getting better at reading neat, blocky printing, you should still plan on a lot of manual correction. For anything you need to be reliable, stick to typed or printed documents.
How Can I Get More Accurate Conversions?
Accuracy starts with the source image. You can’t expect clean data from a messy picture. It’s that simple. Giving the software a good, clean image to work with makes all the difference.
- Go for High Resolution: A 300 DPI scan is the gold standard. A crisp photo from a modern smartphone also works wonders, as long as you hold it steady.
- Find Good, Even Lighting: Shadows and glare are your worst enemies. They hide text from the OCR engine. Try to use natural light from a window instead of a harsh flash or direct overhead lamp.
- Straighten It Out: If the document looks like a trapezoid in your photo, it's skewed. Use any basic photo editor to correct the perspective until it’s a perfect rectangle.
- Pump Up the Contrast: Making the text pop by darkening it and brightening the background helps the software see each character clearly.
Nailing these simple prep steps will save you a ton of time fixing errors on the back end.
Are Those Free Online Converters Safe?
This is a huge deal, especially if you’re handling business documents. When it comes to sensitive data—invoices, bank statements, client lists—you have to be extremely careful with free online tools.
Many of these free sites don't have clear privacy policies. What does that mean? They could be storing your uploaded files on their servers forever, leaving confidential information exposed.
For any document with personal or financial data, play it safe. Use a trusted desktop tool like Excel's built-in feature or a professional service with clear, upfront security and data protection policies.
What’s the Best File Format to Use?
You can’t go wrong with high-quality PNG or JPG files. Both are perfectly fine for the job.
Technically, PNGs can be a little better for documents with sharp text and lines because they use "lossless" compression, meaning no detail is lost. But honestly, what matters way more is the image quality itself, not the file extension. A sharp, well-lit 300 DPI scan saved as a JPG will always beat a blurry, low-res PNG. Focus on getting a great picture first.
Ready to stop wasting time on manual data entry and start building automated workflows? DocParseMagic turns your messy documents into clean, structured Excel data in minutes. Sign up for free and see how it works.